Restaurant Instagram posts: the 5-step weekly workflow without a designer
Restaurant Instagram posts: the 5-step weekly workflow without a designer
It's 11am. Lunch service starts in an hour. Your last Instagram story was six days ago. You open Canva, look for a template, spend 40 minutes adjusting colors that don't match your restaurant, and end up posting something acceptable.
The next day, you start over.
This is not a creativity problem. It's a workflow problem.
Restaurants with a consistent, recognizable Instagram presence don't spend more time than you do. They just have a system. This article gives you exactly that system — five steps, under two hours per week, zero designer.
Why the classic approach doesn't hold over time
Most restaurant owners fall into one of these four traps:
| Approach | Real cost | Concrete problem |
|---|---|---|
| Canva freestyle | 45–90 min/post | No visual consistency, exhausting after two weeks |
| Agency or freelancer | 500–2,000 EUR/month | Impossible budget for an independent restaurant |
| Delegate to a staff member | Variable | Inconsistent results without a precise brief |
| Post nothing | 0 EUR | Invisibility = customers lost before they even see your door |
The root problem: every post is treated as an individual project. Without a system, each publication starts from scratch, and your visual identity erodes week by week.
The 5-step workflow for 7 posts per week
Here's the system that active restaurant Instagram accounts use, designed to run in under two hours per week without a designer.
Step 1 — Define your 3–4 content pillars (done once)
Before anything else, set the types of posts you'll publish systematically. Four pillars that work for restaurants:
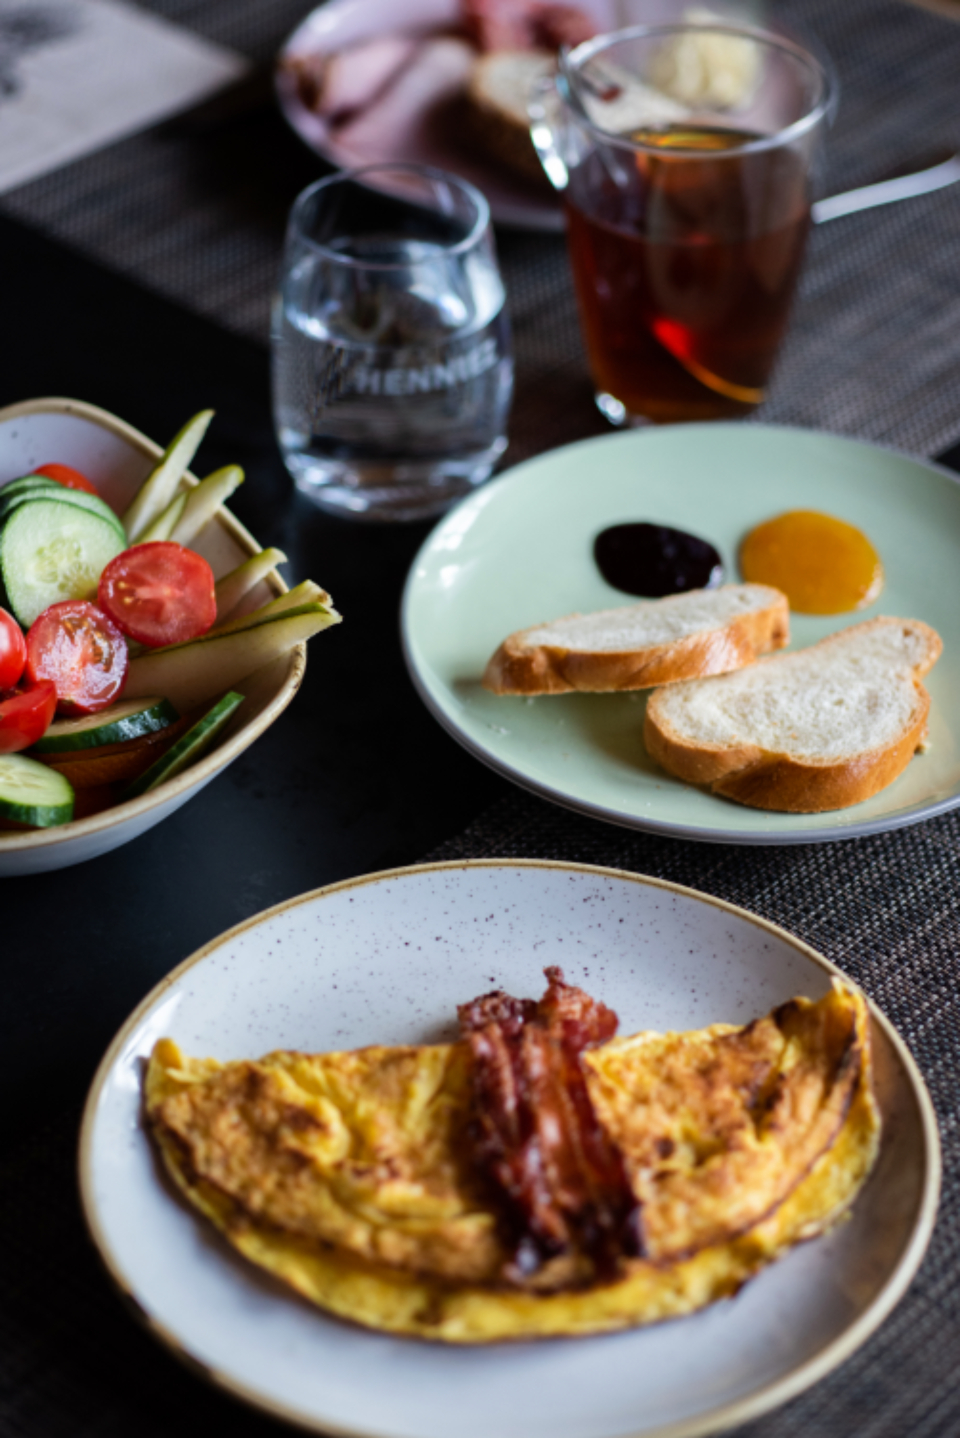
- Featured dish — photo of your best dish right now
- Behind the scenes — kitchen prep, setup, fresh deliveries
- Guest moment — dining room atmosphere, set table, celebrations
- Practical info — special hours, events, weekend menu
With four pillars and one post per pillar, you have a four-posts-per-week calendar without ever wondering what to publish. Add two free-form posts and you reach six to seven publications per week.
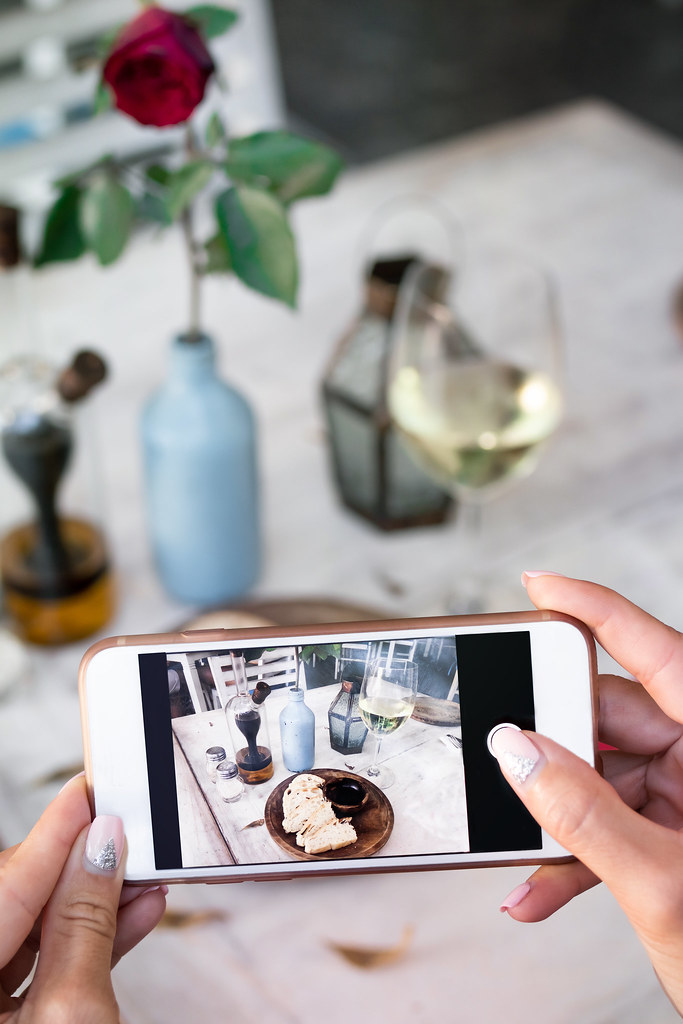
Step 2 — Take useful photos in 15 minutes per service
No professional shoots needed. A smartphone in natural light does the job. Simple rule:
- Photograph 3 different dishes before service (natural light = before 10am or after 4pm)
- Take one atmosphere shot (dining room ready, set table)
- Capture one behind-the-scenes (chopping, plating, the chef at work)
You have five to six usable raw visuals for the week. In fifteen minutes.
Step 3 — Create visual posts in batch on Monday morning
This is where you save the most time. Instead of creating post by post, block 45 minutes on Monday morning to produce all your weekly visuals in a single session.
With Palette, you import your photos, choose your format (square, story, reel cover), and your brand identity — colors, font, logo — is applied automatically to every visual. No settings to redo from scratch for each post.
Result: seven posts ready in 45 minutes, all consistent with your brand. For high-volume visual production, also read our guide on creating 30 brand visuals in one hour with AI.
Step 4 — Visual direction examples for each pillar
For each post type, here are the directions that generate the most engagement:
Featured dish
- Dark background or slate, side lighting, slight saturation on reds and oranges
- Text: dish name + price or "available tonight"
- Palette prompt: "dark textured background, cream serif font, logo bottom right"
Kitchen behind the scenes
- Square format, tight framing on hands or the dish being plated
- Minimal text: "Behind the scenes" or date + service time
- Palette prompt: "30% dark overlay, centered white text, authentic atmosphere"
Dining room atmosphere
- Wide angle, warm light, avoid recognizable faces if possible
- Text: "Reserve your table" + link in bio
- Palette prompt: "warm tones, bottom text, primary brand color"
Practical info
- Solid background in your brand palette, no photo needed
- Structured text: title + details + CTA
- Palette prompt: "primary color background, white text, decorative icon or emoji"
Step 5 — Pre-publish checklist
Before publishing each post, 30 seconds of verification:
- ☐ The visual respects your color palette (no stray colors)
- ☐ Your logo or restaurant name is visible
- ☐ Text is readable on mobile (minimum 18px equivalent font size)
- ☐ Caption includes 3–5 relevant hashtags (#restaurantparis, #foodphotography, your city…)
- ☐ A CTA is present (reserve, order, see the menu)
- ☐ Publication time selected (12–1pm or 6:30–8pm for restaurants)
What this looks like over 30 days
A restaurant following this workflow publishes 28–35 posts per month with approximately 4–5 hours of total work. That's the budget of a single professional photo shoot, for an entire month of content.
Restaurants that post consistently and coherently typically see:
- +15–30% profile visits in 4 weeks
- More direct messages for reservations
- A presence that reassures new customers before their first visit
For more on creating appetizing food visuals, read our guide on how to post Instagram visuals that make mouths water.
Start with one branded post
The workflow means nothing if you don't launch it. Take the photo you took this morning and create your first branded post in under 5 minutes.
Create your first restaurant visual on Palette →
Import a photo, apply your brand identity, export. No design skills required.
Related reading
Continue reading
Restaurants: how to post Instagram visuals that make mouths water (without a designer)
Your food is great, but your Instagram visuals don't do it justice. Here's how restaurants and food entrepreneurs build an appetizing visual presence — completely on their own.
How to Create Brand Visuals Without a Designer in 2025
Learn how to create professional brand visuals in minutes, without design skills or designer budget.
How to create e-commerce visuals that convert (without hiring a designer)
A practical guide to creating professional, brand-consistent e-commerce visuals in minutes using AI.